In this project, I was assigned to create simple Vagrantfile for provisioning Ubuntu VM with private IP 192.168.56.100.
Table of contents
- 1. Creating a new directory for vagrant
- 2. Initialize Vagrant directory
- 3. Look at the vagrantfile configuration file
- 4. Boot Up the vm
- 5. Open a ssh connection
- 6. Install apache web server
- 7. IP configuration
- 8. Resource(s)
1. Creating a new directory for vagrant
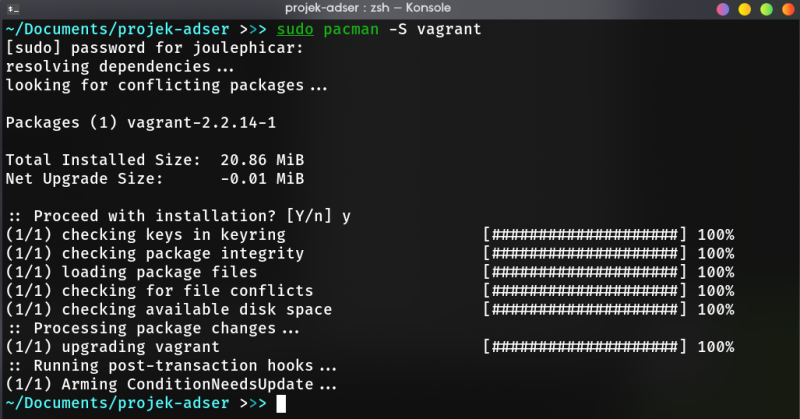
Create a new directory for Vagrantfile. Here, i name it “projek adser”, go to the directory and install vagrant (vagrant installation can be done before creating a directory). Because i use arch-based linux, my command for installing it would be,
sudo pacman -S vagrant
Wait for the installation process to complete.
2. Initialize Vagrant directory
Open the directory using prefered text editor (here, i use vscodium). Type this command to initialize vagrant directory (create vagrantfile) with ubuntu bionic (18.04) image.
vagrant init ubuntu/bionic64

3. Look at the vagrantfile configuration file
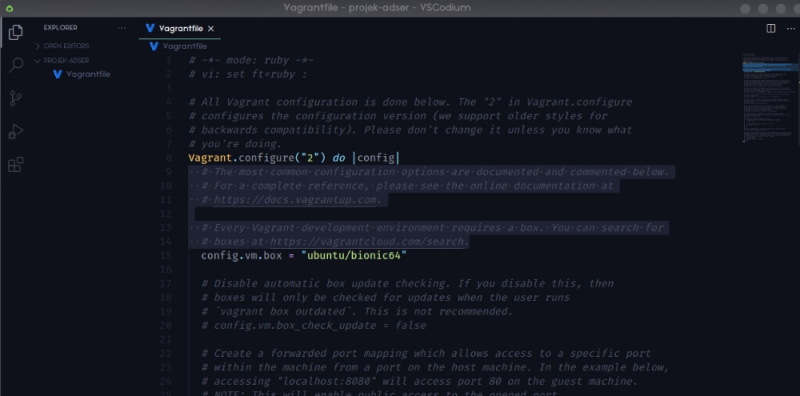
We can delete the lines that are less important (for this assignment) and leave as follows,

4. Boot Up the vm
We can boot up the vm using,
vagrant up
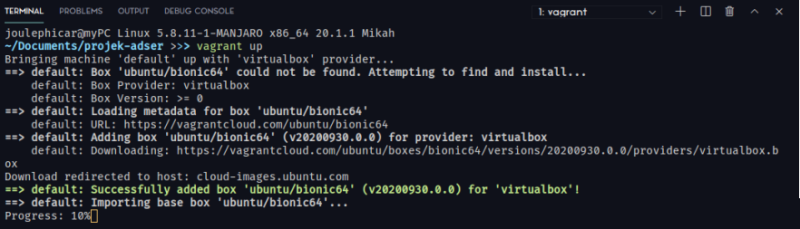
When finished, it will look like this
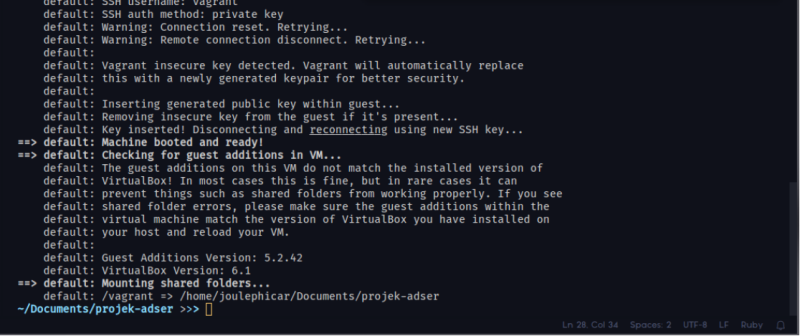
5. Open a ssh connection
After the configuration is complete, type the command
vagrant ssh
to open the ssh connection from the host, we can configure vm vagrant ubuntu using this connection.
6. Install apache web server
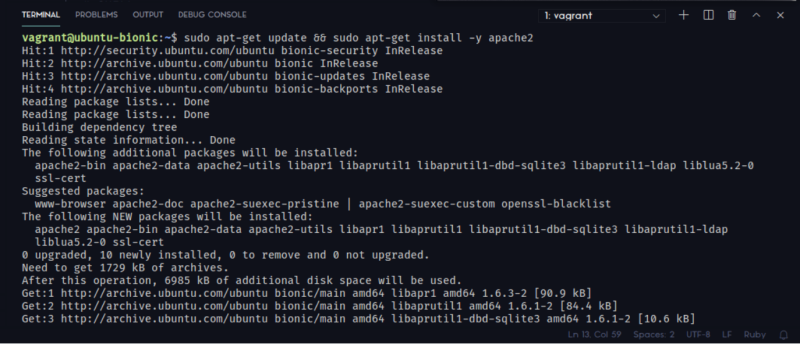
Install apache on the vm via ssh connection, don’t forget to update it first
sudo apt-get update && sudo apt-get -y apache2
Check apache2 service status with systemctl.
sudo systemctl status apache2
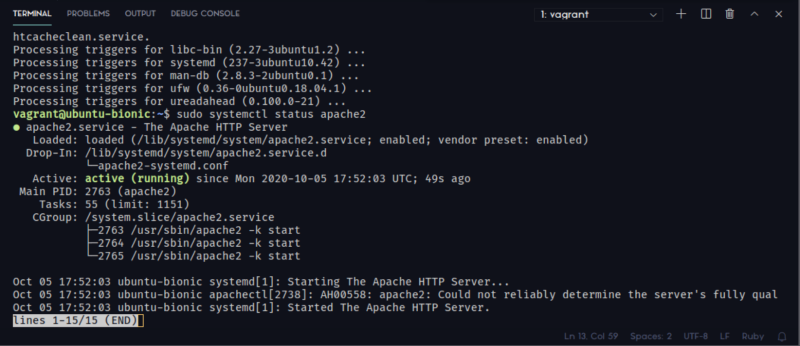
If the apache2 status is “active” then it means we’ve successfully install the webserver. If you see other status, you might’ve to wait a few minutes or you can try to restart the server using
sudo systemctl restart apache2
7. IP configuration
We can confirm that our virtual machine and webserver are running successfully. Now, logout from ssh session and back to the Vagrantfile to configure the IP to 192.168.56.100

After that, we can reload the Vagrant configuration using,
vagrant reload
And then go to the IP, you should see a well-known apache2 webserver default page. You can also configure it to serve your own webapp.
8. Resource(s)
Here’s my Vagrantfile
# -*- mode: ruby -*-
# vi: set ft=ruby :

Vagrant.configure("2") do |config|
  config.vm.box = "ubuntu/bionic64"

  # config.vm.network "forwarded_port", guest: 80, host: 8080
  # config.vm.network "forwarded_port", guest: 80, host: 8080, host_ip: "127.0.0.1"
  config.vm.network "private_network", ip: "192.168.56.100"
  # config.vm.network "public_network"

  # PROVIDER SETTINGS
  config.vm.provider "virtualbox" do |vb|
    # # Display the VirtualBox GUI when booting the machine
    # vb.gui = true

    # # Customize the amount of memory on the VM:
    # vb.memory = "1024"
  end
end