In this project, I was assigned to create EC2 instance with 10GB SSD and attach an additional EBS volume into the instance.
Table of contents
- 1. Preparing the Needed
- 2. Creating New Volume
- 3. Attaching the Volume
- 4. Creating a Filesystem
- 5. Mounting the Volume
1. Preparing the Needed
Go to the EC2 dashboard, select the instance that we will attach new volume into. There are 2 information that must be noted, the first is the instance ID the second one is availability zone.
After that, on the navigation pane, select Volume on elastic block store section.

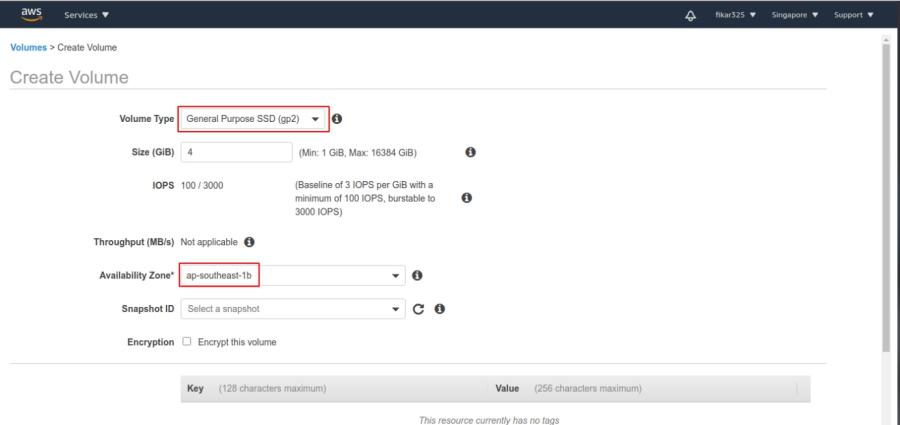
2. Creating New Volume
In the EBS volume dashboard, click “Create Volume” and create new volume as desired. Here, in my case i create new volume with 4GiB with SSD gp2 type. Take a note that availability zone for the volume MUST be same as the target instance (ap-southeast-1b in my case).

If successful, the new volume will appear on the EBS dashboard with a state / status available.

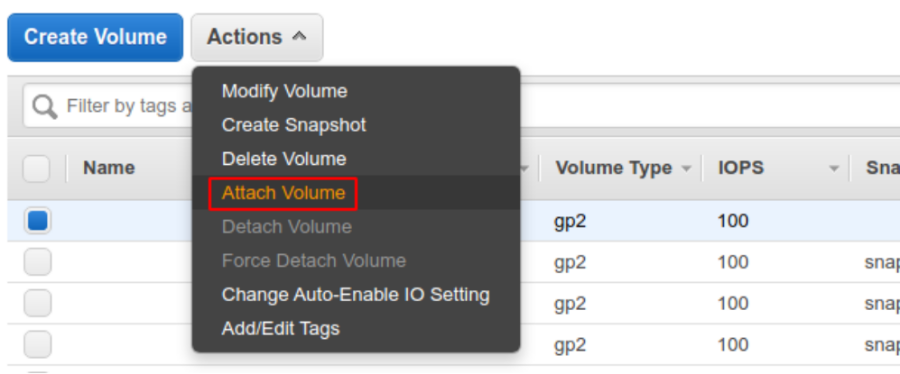
3. Attaching the Volume
Right click on the volume and select attach volume.
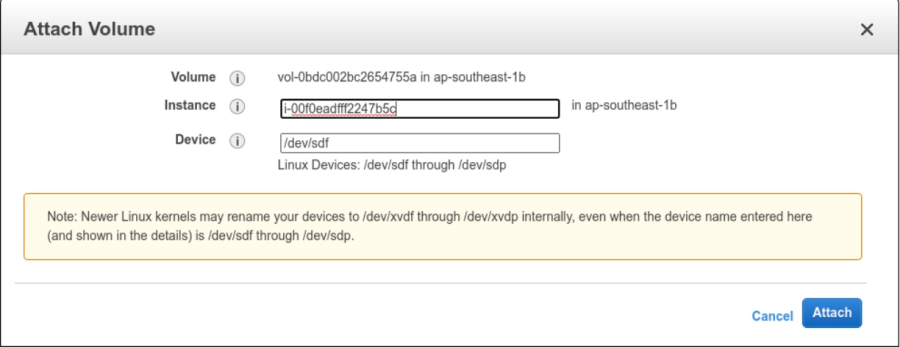
There will be a popup to choose the instance, recall the ID we noted before and select the instance. For the device name, we can leave as it is or change to /dev/sdf, /dev/sdg, or whatever. Click “Attach” to attach the volume.
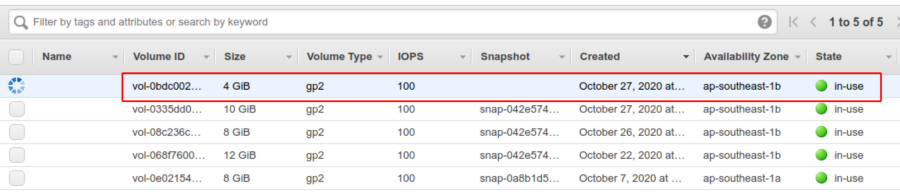
Wait for a while until the volume state changed to “in-use” with little green circle.
4. Creating a Filesystem
Run the df command to see if the volume already exists on that instance.
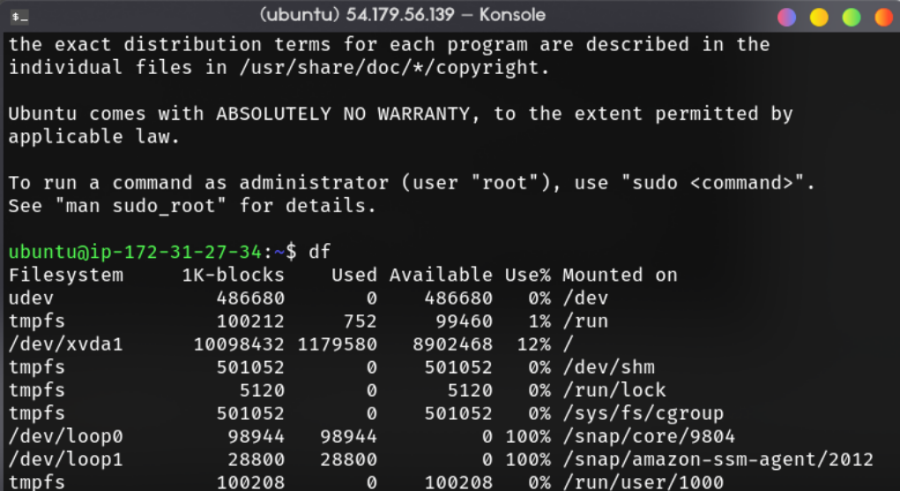
As you can see, the volume we added is not visible yet. This is because we haven’t done formatting and mounting the new volume. Although, we can actually see all filesystem including volume / disk that are not mounted yet with command,
df -aH
We can also see all storage that had been attached on the instance using command,
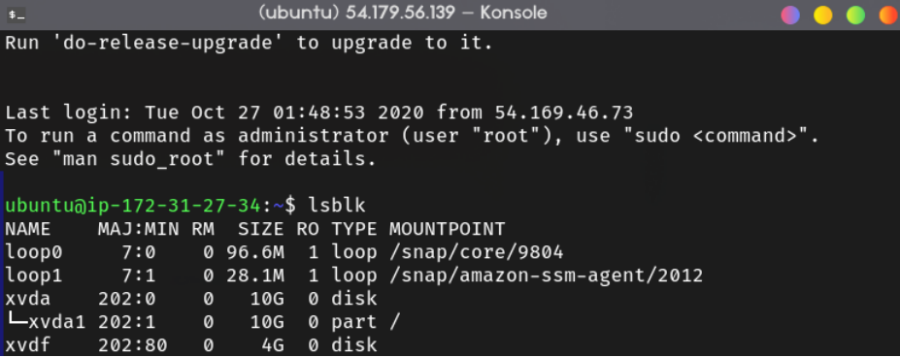
lsblk
We can see there’s one disk named xvdf with 4G of size (which is the volume that we created earlier).
Before mounting the new volume, look at the filesystem of the new volume by typing the command,
sudo file -s /dev/xvdf
Then, look at the root partition filesystem with the command
sudo file -s /dev/xvda1

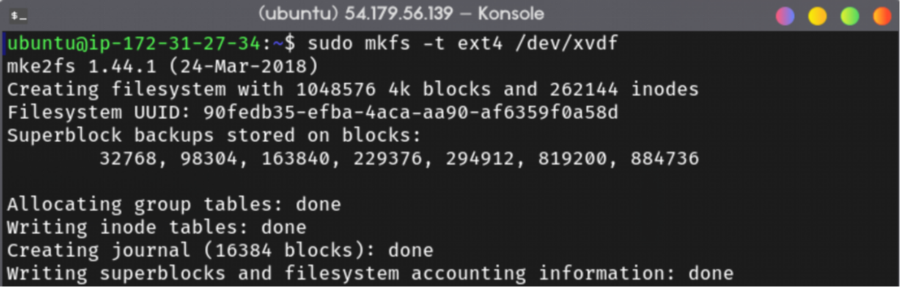
Here we can see that the new volume still doesn’t have a file system and for the root partition it has an ext4 file system. Create a new filesystem for additional volume with the command,
sudo mkfs -t ext4 /dev/xvdf
5. Mounting the Volume
Create a new directory at home or at root. Create with the desired name such as “tambahan” (addition in bahasa).
mkdir tambahan /dev/xvdf
sudo mount -t ext4 /dev/xvdf

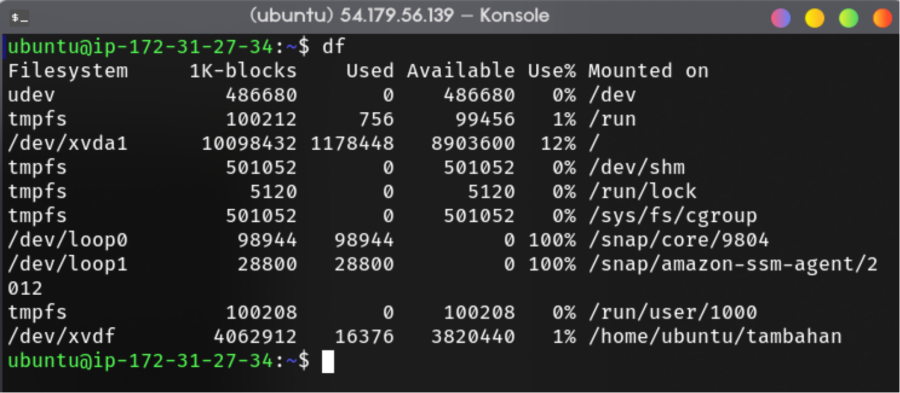
Run the df command again and you can see that the previously created volume appears in the output of the command with the description Mounted on the directory we created earlier.
A little additional note, because earlier we mounted it as root, the additional folder will change its ownership to root. However, we can change it with the command,
$ sudo chown ubuntu:ubuntu tambahanAfter that, we should be able to use the directory without root previledges.