In this project, I was assigned to leverage NGINX server block to host multiple wordpress site on the same EC2 instance And one of the site must be served with HTTPS. Like the previuos project, this is also a team project (ft. Fikri and Rafi).
Table of contents
1. EMP Installation
So what’s EMP or LEMP? It’s an abbrevation of Linux, NGINX (Engine-X), MySQL (or MariaDB), and PHP. Basically, it’s one of the popular Tech Stack used to build web application. The installation is very straight-forward in Ubuntu. First, update the repository database and upgrade.
sudo bash -c "apt update && apt dist-upgrade -yq && apt autoremove"
Install NGINX
Install NGINX and enable it using systemctl command,
sudo apt install nginx -yqq
sudo systemctl enable nginx.service
sudo systemctl status nginx.service # make sure that nginx
                                    # have "running" status
Install Database Server and Client
Install mariadb server and client,
sudo apt install mariadb-server mariadb-client -yqq
sudo systemctl enable mysql.service
sudo systemctl status mysql.service # check mysql status
Start MySQL secure installation, secure installation have several functions,
- Delete Anonymous users
- Remove Remote root Login
- Delete test database and it’s access
- Reload privilege tables
sudo mysql_secure_installation
Restart MariaDB (or MySQL),

Install PHP 7
Add ppa php ondrej repository into ubuntu.
sudo add-apt-repository ppa:ondrej/php

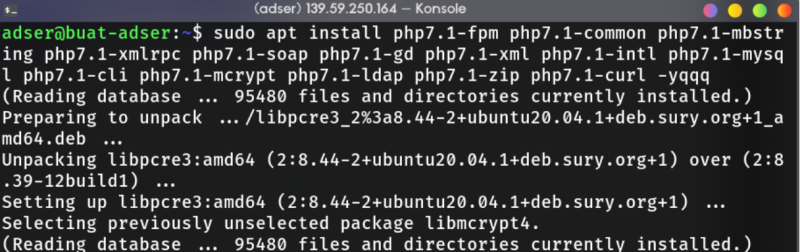
Install PHP 7.1 (you can adjust the version if there’s newer release) and the required/recommended extensions.
sudo apt install php7.1-common php7.1-fpm php7.1-mbstring php7.1-xmlrpc php7.1-soap php7.1-gd php7.1-xml php7.1-intl php7.1-mysql php7.1-cli php7.1-mcrypt php7.1-ldap php7.1-zip php7.1-curl -yqqq
2. EMP Configuration
MariaDB
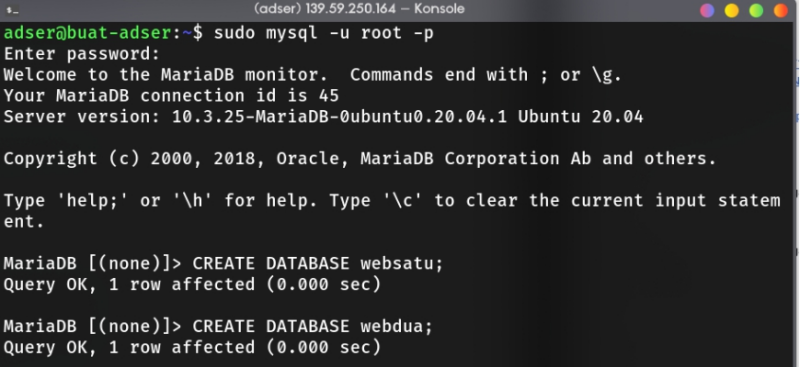
Login to mysql root user to create database for wordpress, don’t forget to take a note about database user, password, and database name. Also, FLUSH PRIVILEGES before you exit the mariadb console.
sudo mysql -u root -p
MariaDB > CREATE DATABASE db_name_for_first_wp_site;
MariaDB > CREATE DATABASE db_name_for_second_wp_site;

MariaDB > GRANT ALL ON db_name_for_first_wp_site.* TO 'db_user_for_first_wp_site'@'localhost' IDENTIFIED BY 'your_password';

MariaDB > GRANT ALL ON db_name_for_second_wp_site.* TO 'db_user_for_second_wp_site'@'localhost' IDENTIFIED BY 'your_password';

MariaDB > FLUSH PRIVILEGES;

MariaDB > exit;


Pro tip: don’t forget to add semicolon for each SQL command :)
NGINX
Sites Available
Create two files in /etc/nginx/sites-available directory. It’s considered a best practice to create with the domain name we want to use (for example wp-site.example.com).

For each of the file, you can configure it like this
server {
    listen 80;
    listen [::]:80;
    root /var/www/html/websatu.wuvel.net; # replace this with
                                          # your wp location
    index  index.php index.html index.htm;
    server_name  websatu.wuvel.net; # replace with your domain

    client_max_body_size 100M;

    location / {
        try_files $uri $uri/ /index.php?$args;
    }

    location ~ \.php$ {
    include snippets/fastcgi-php.conf;
    fastcgi_pass             unix:/var/run/php/php7.1-fpm.sock;
    fastcgi_param   SCRIPT_FILENAME $document_root$fastcgi_script_name;
    }
}
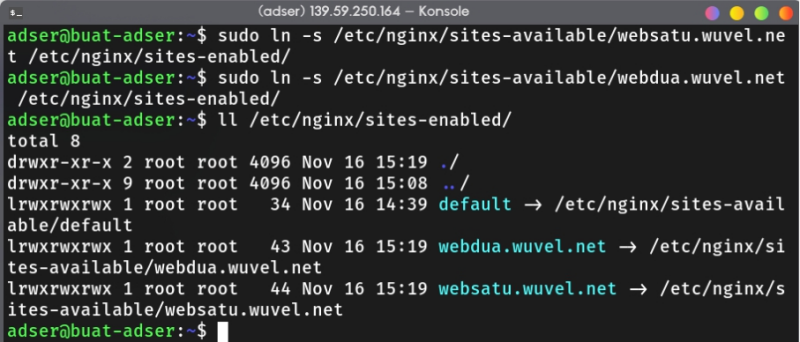
Sites Enabled
After that, enable each of the server block by soft link it to the /etc/nginx/sites-enabled/ directory.
sudo ln -s /etc/nginx/sites-available/your.website.com /etc/nginx/sites-enabled
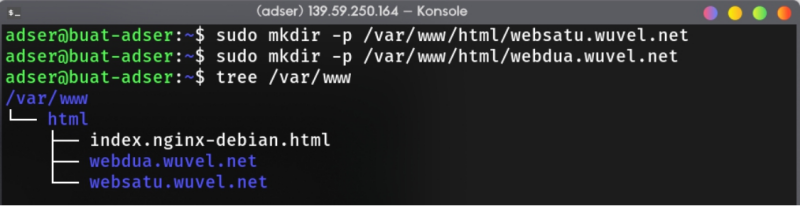
Creating Wordpress Application Directory
Create the directory to store the wordpress,
sudo mkdir -p /var/www/html/your.website.com
3. Wordpress Configuration
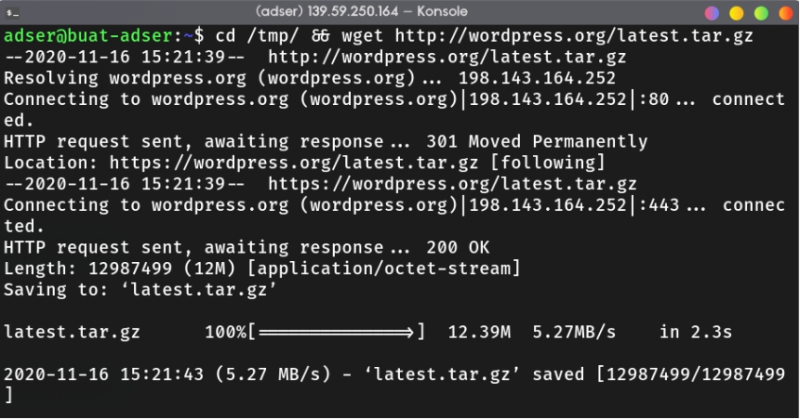
Download Wordpress
Download Wordpress from this link. After that, extract it using tar and copy it to the directory we created before.
tar -xzf latest.tar.gz
sudo cp -R wordpress/* /var/www/html/your.website.com

Wordpress Configuration
Before we use wordpress, we must configure
- Database Name
- Database User
- Password Database User
- Database Host
- Database Charset
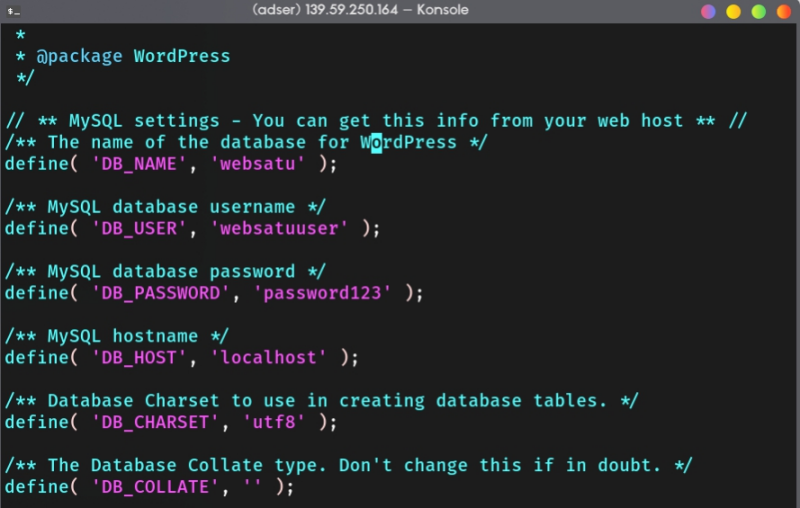
You can copy wp-config-sample.php provided in wordpress app root directory and renamne it to wp-config.php
sudo cp /var/www/html/yoursite.com/wp-config-sample.php /var/www/html/yoursite.com/wp-config.php
Here’s my example configuration

Lastly, change the ownership of your wordpress app directory to www-data or the webserver user.
sudo chown -R www-data:www-data /var/www/html
sudo chmod -R 755 /var/www/html
Verify Your Configuration
Verify your nginx setting we created earlier and restart the nginx service.
sudo nginx -t
sudo systemctl restart nginx

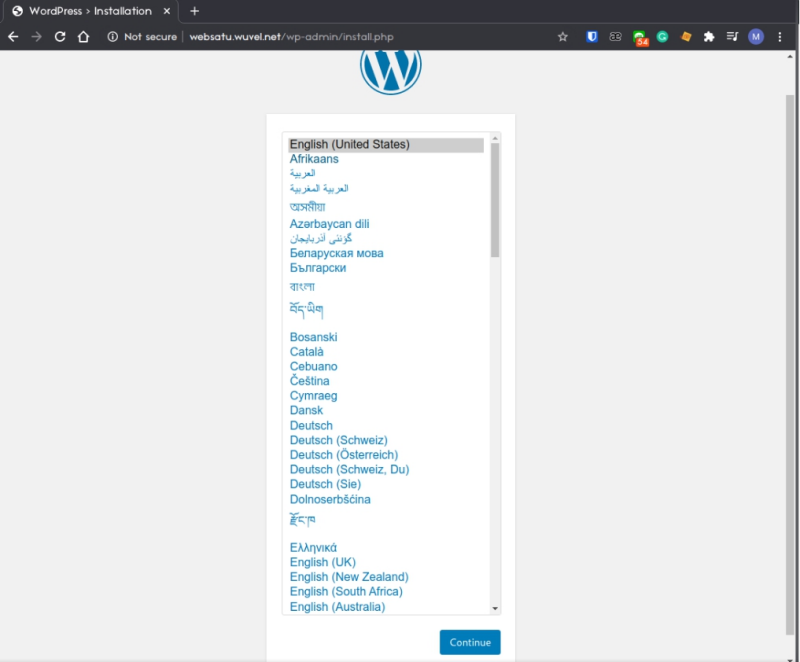
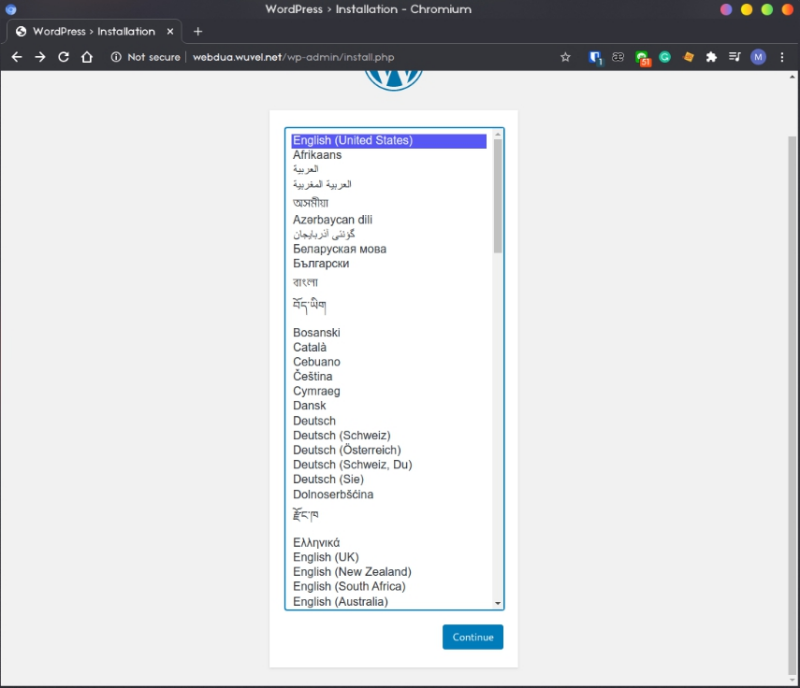
Setup Wordpress
Done! now we can visit the website and as you can see we’ve successfully create 2 different wordpress site on the same EC2 server. Finish the setup on both site.
4. SSL Using Certbot
Now then, we’ve successfully setup the site but, as you can see the project requires us to make one of the site serves with HTTPS.
There are two methods to enable HTTPS, by using certbot (automatic) and by using self-signed certificate and manually update the nginx server configuration. I choose the first one for the sake of simplicity, but if you have dev/test environment on local, you can’t use the first method (see this link to set up SSL with self-signed certificate).
First, we need to install certbot and certbot module for nginx.
sudo apt install certbot python3-certbot-nginx -yqq

After that, we can just run certbot to generate and verify the domain of our website.
sudo certbot --nginx -d yourwebsite.com
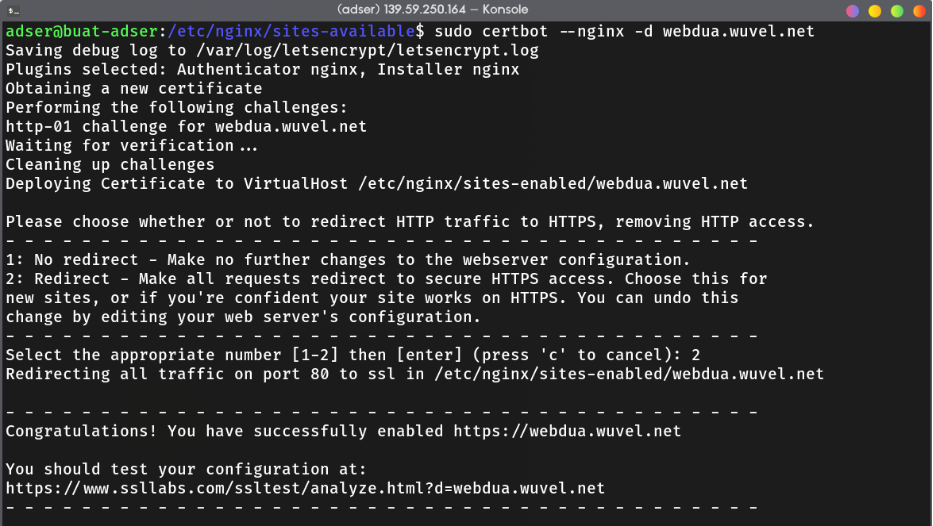

If you see the config file we created earlier in
/etc/nginx/sites-available/your.website.com, there’s additional block to serve https and redirect all http traffic to https.